To make your own synchronized swimming suit follow these steps.
|
If you need any help while making your swimsuit you can use the book "Spandex simplified: Synchro Swimwear," by Marie Porter, as a resource.
|
|
|
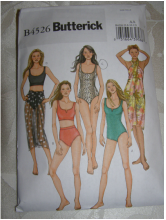
1. Buy a pattern.
I used Butterick B4526. |
|
|
|
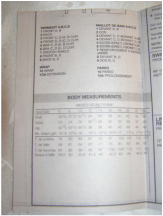
2. Take your measurements.
It is always best to have someone else take your measurements for you. Make sure you measure your bust, waist, hip, and back waist length (from the base of the neck to the waist). |

|
|
3. Find the right pattern size.
You might not be the same size in every category. That is okay. The pattern can be adjusted. |

|
|
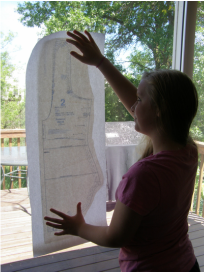
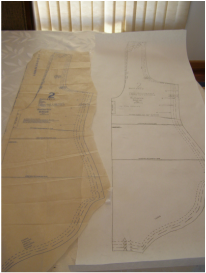
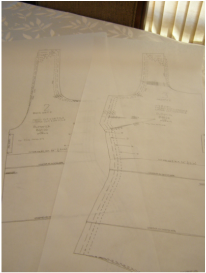
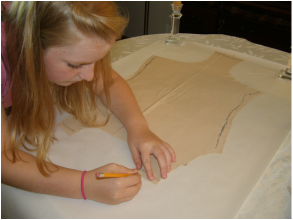
4. Trace pattern.
I find it easiest to use drawing paper to trace my pattern. I would also tape it to a window so it is easier to see. There should be 2 parts of the pattern; the front and the back. I trace it to save my original pattern for future use. |
|
|
|
|
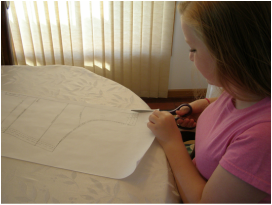
5. Cut out pattern.
Cut out the traced pattern. |
|
|
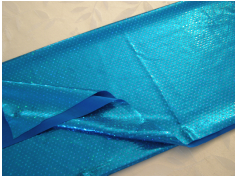
6. Buy fabric and elastic.
I purchased a tan liner spandex and swimsuit spandex with a four way stretch at Jo-Ann Fabrics. Also purchase 3/8" swim elastic for your suit. |
|
|
|
7. Pin and cut spandex.
Make sure the greatest degree of stretch in your fabric is going horizontally, across the girth of your body. Also make sure you fold part of the spandex over and carefully line it up with the pattern. Pin the spandex to the pattern. I tried to avoid pins, as they can create runs in the spandex. Then cut out the spandex liner. Cut out both the front and back sides in the tan liner spandex. |
|
|
8. Sew spandex together.
Don't sew directly on the edge of the suit. When you sew any stretchy material make sure you stretch the fabric both ways as you sew. Use a large zig zag pattern on your sewing machine, if you don't own a serger. This stitch is only a basting stitch for now...it will be removed later. |
|
9. Make any alterations that are needed to make the perfect suit for you!
To do this you will need to try on your suit. Then see what needs to be tailored to your own body. I sewed new basting stitches at the waist and shoulders to fit more closely. You may have to alter to your own body measurements.
To do this you will need to try on your suit. Then see what needs to be tailored to your own body. I sewed new basting stitches at the waist and shoulders to fit more closely. You may have to alter to your own body measurements.
|
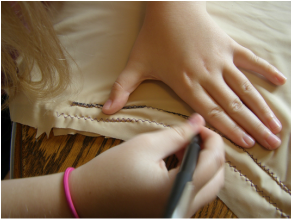
10. Mark where you put your seams and take them out.
Once you are happy with the feel of your liner suit, mark where you put the seams with a permanent marker. Then carefully take the seams out with a seam ripper. Be careful not to put runs in your fabric. |
|
|
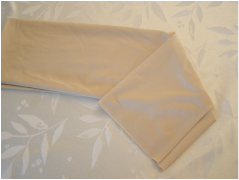
11. Lay your spandex out and trace it.
Lay your spandex (the one you have been using) and trace it on the same type of drawing paper you used earlier. Make sure to trace both parts of the pattern. Then cut out the new traced paper. |
|
|
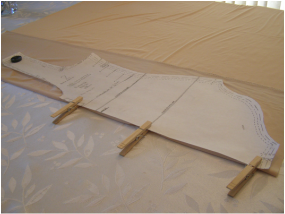
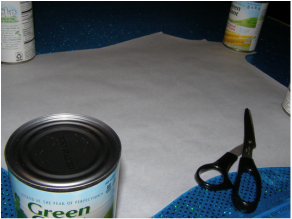
12. Cut out decorative fabric.
Now using the decorative fabric you bought, cut it out by using the new paper pattern as a template. If you are having trouble holding down the paper you can put some soup cans on it. |
|
|
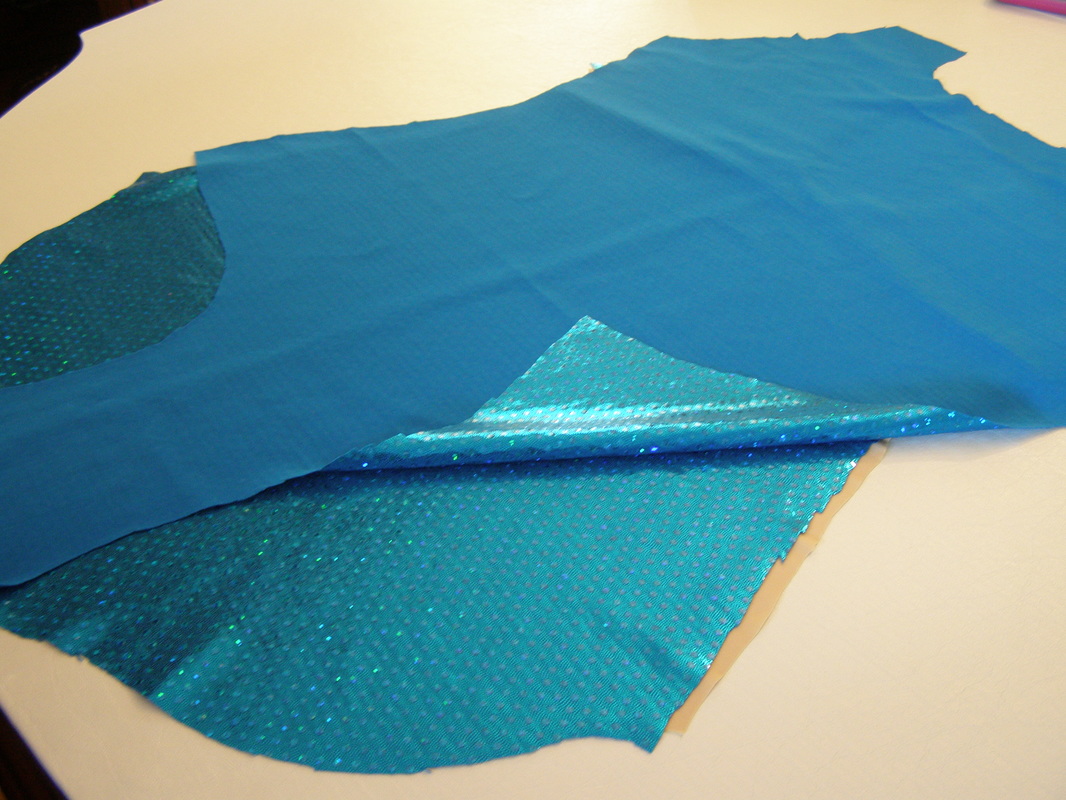
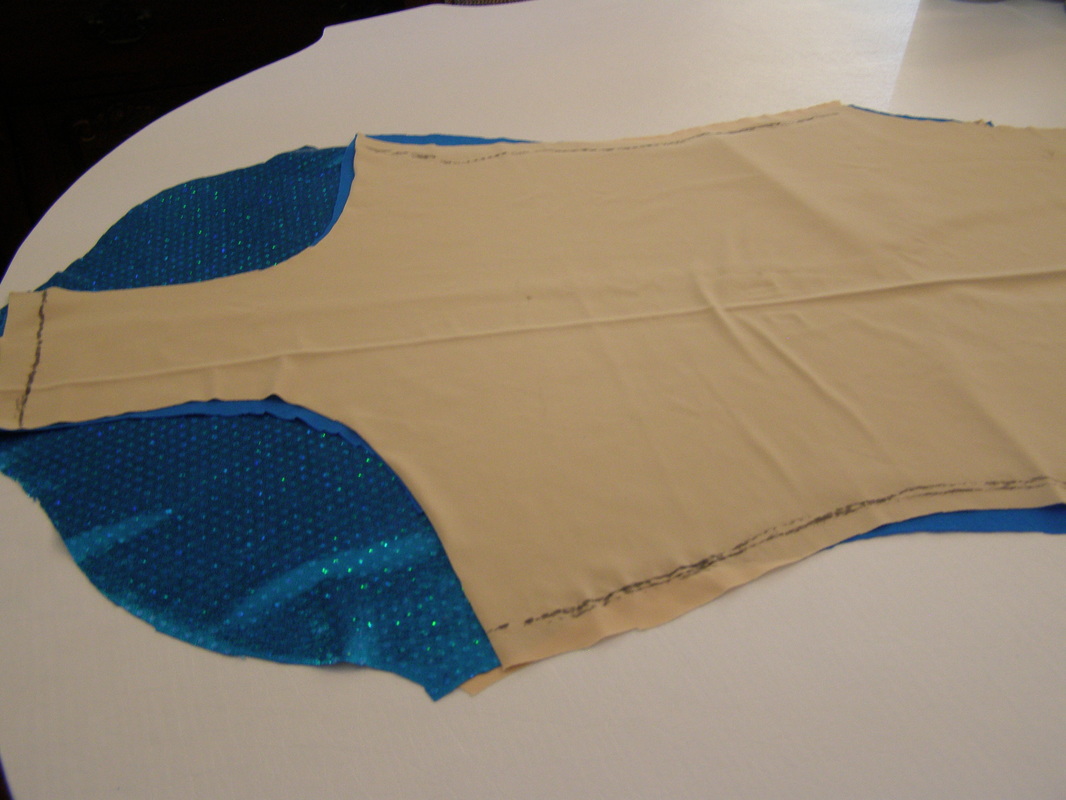
13. Put all 4 pieces together.
To prepare to sew your liner and decorative spandex together you will need to first pin them all together. What you want to do it place the "back liner spandex" piece down on the table first. It doesn't matter which side is facing up. Then place the other "back decorative fabric" on top of the back spandex. Make sure the right side—the pretty side— of the fabric is facing up. Then take the "front decorative fabric" piece and have the right side facing down. Lastly place the "front liner spandex" piece down on top of it all. Make sure you line everything up. |
|
|
14. Pin all 4 pieces together
|
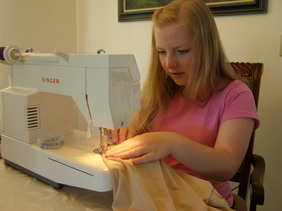
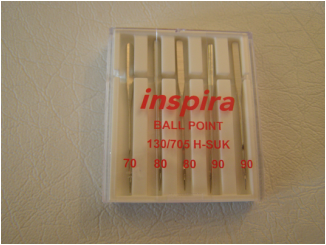
15. Get the right needle and sew!
Before you start sewing make sure you have a ball-point stretch needle. I used the size "80" needle. This needle will help prevent runs in your spandex. When you sew make sure to stretch the fabric both ways. Sew all seams...shoulder, sides and crotch seams, Do not sew the openings to the neck, legs, and arms. Make sure to backstitch at the beginning and end of your seam. |
|
|
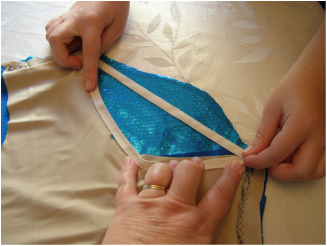
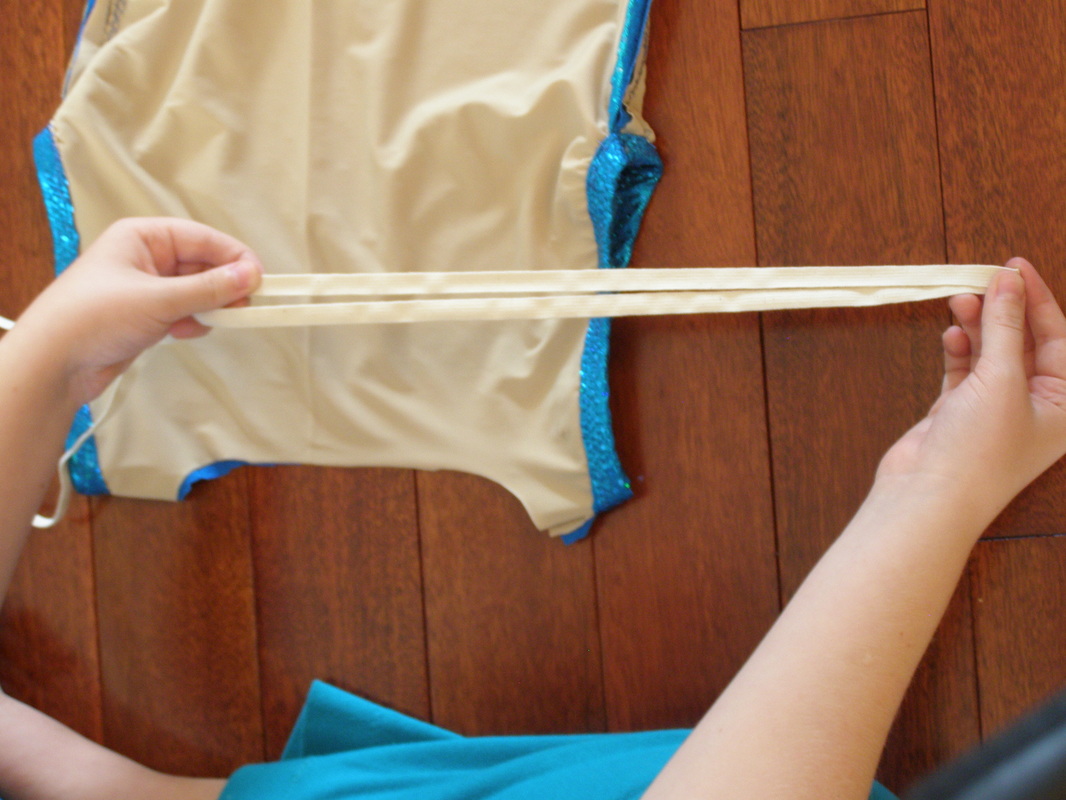
16. Measure the elastic for the leg.
To do this, line elastic along the edge of the front leg opening. Start from the crotch and go to the side seam. Then connect with a straight line back to the starting point. This usually gives the right amount of elastic for the leg opening. You will need to do this twice, one for each leg opening. |
|
|
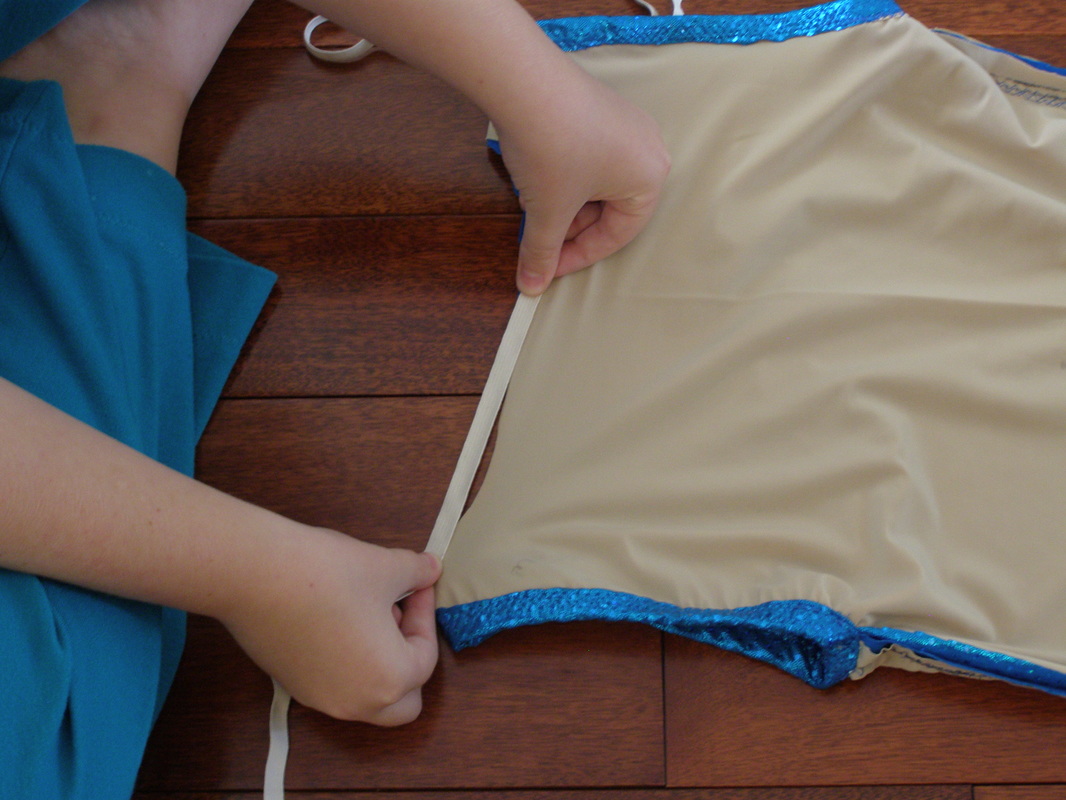
17. Measure the elastic for the arm.
How you do this is to start at one of the seams near the arm opening. Go from that seam directly to the side seam. Then loop back again. Do this for both arm openings. |

|
|
18. Measure the elastic for the neck.
How you do this is to start on the front side of the suit. Start from one shoulder then go to the center point on the front neck. Then do the same to the back side of the suit. Once you have done this double the lengths of the 2 measurements you have gotten. |
|
|
|
|
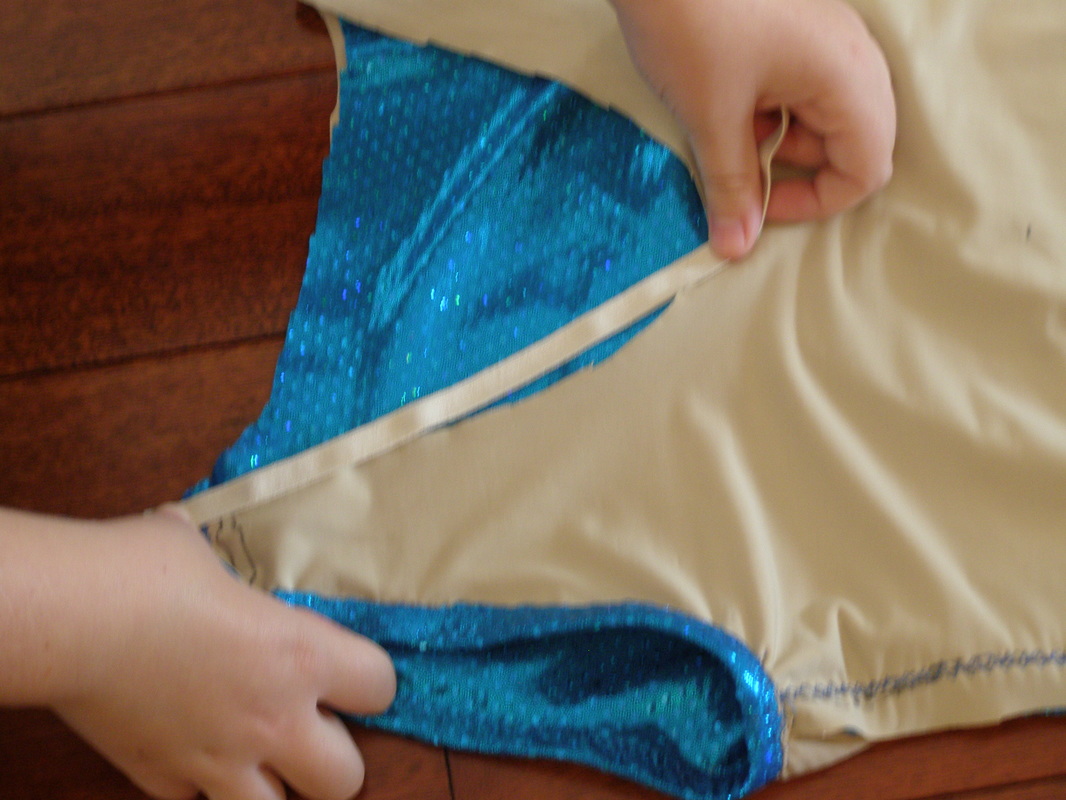
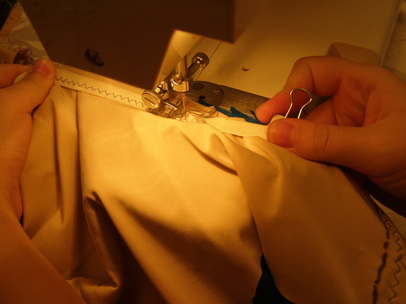
19. Sew on the elastic.
I started with the elastic on the leg openings. First I sewed the elastic of one leg opening together in one continuous loop, making sure not to twist the elastic. I then "pinned" it with paper clip fasteners (instead of pins), lining up the midpoint of the elastic loop to the midpoint of the leg opening. Do this around the entire opening. Then you sew it in the middle of the elastic. Use the zig zag pattern on your sewing machine. Also make sure you stretch the elastic with the fabric both ways as you sew. Once you have sewn on the elastic you must fold it over. Then sew around it again, but this time sew on the left side of the elastic (closest to the center of the suit) After this step you shouldn't be able to see the elastic. Do this to all openings. |
|
|
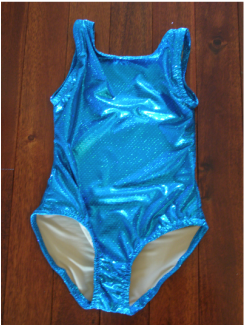
20. Now you have finished your swimming suit!
|
|
